Monday, March 21, 2011

Make Mine Chocolate

Since I am still sick and starting to regain the ability to smell and taste (there was about a week there where I couldn't smell or taste a darn thing- really makes food blogging difficult!) I want to write about something very close to my heart.
Rabbits.
I realize this may sound weird for some of you, so let me give you a little history about me. Time to open up on the world wide web (kinda freaky).....
Growing up, I always had cats. I loved cats and I still love cats. Animals were always treated as a part of the family. They were spoiled, they went to the doctor and above everything else, they were and are loved.
Having pets always filled my heart with happiness. I know I'm not the only one that feels this way because as I got involved with the veterinary field I got to meet others that felt the same way I do about their pets- dogs, cats, rabbits, horses, yada yada yada.
I cannot wait until I can work in a veterinary setting to improve the life of animals, and by doing that, improve the life of the people who love them.
Okay, so how does all of this relate to rabbits you ask?
This story begins May of 2009. My at the time boyfriend and I were taking a walk around his neighborhood when he spotted a little brown rabbit- definitely not a wild jack rabbit- hoping along in someones yard next to a small family walking in the opposite direction of us. He asked if it was their rabbit, but it wasn't They had no clue it was even following them. So I walked up and scooped up the bunny into my arms. He didn't try to flee. He wasn't all skin and bones. Just a cute little rabbit that didn't know what was going on, probably looking for something to eat. Boyfriend and I walked around the entire neighborhood knocking on doors to see if anyone was missing a bunny- but those that answered declined. At this point it was getting dark and there was no way I was going to just set the little rabbit back down on the ground and walk away. I was instantly attached.

Just relaxing on the floor

Sammy grooming me


We brought the bunny back to my boyfriend's house because I had cats back at my parents place where I lived and I knew that predator animal wouldn't mix with prey animal very well. At least not initially.
We decided to keep Sammy and as soon as possible brought him to the vet. He was about 4 months old or so. Quite possibly someones baby Easter bunny that they decided they didn't want anymore and just set "free". I began studying up about rabbits immediately. I wanted to make sure that I was able to give our new little rabbit everything that it needed. Growing up with cats is a lot different than rabbits.
I have since learned so much about rabbits and how good of a house pet they really can make. But one thing has always been a soft spot for me- people that buy rabbits for young children, only to realize that a rabbit actually does requite some work and usually DON'T like to be held and then surrender them to a shelter to be euthanized or just set free in the backyard. It frustrates me to no end.
I see my little Sammy, and now also my little Daisy Marie and can't imagine how someone would not want to learn about and give them a great home. Sammy is very loyal. The little boy follows me around when he is out during play time. He gets back into his hutch with ease when it's bed time, and even likes to play chase.
Daisy is a little feisty girl. She loves her play time, but is still a little shy.
Here is where Make Mine Chocolate comes in. This website helps to inform anyone who is thinking of becoming a rabbit owner for the first, or third, or whatever time a little about what you are actually getting yourself into. Then the reader can decide if they would rather just have a chocolate bunny for Easter than a real life one.
Rabbits really do make wonderful pets. They each have different personalities like cats and dogs. Speaking of, they can (with some training and supervision) get along just fine with most cats and dogs.
Now that I have two bunnies of my own, I honestly can't imagine life without rabbits!
If you, or anyone you know is thinking about bringing a cute little bunny into your home for Easter, or for whatever reason, please check out Make Mine Chocolate and really think about the decision! :)

Other great rabbit resources:
My House Rabbit
House Rabbit Society
Rabbits Online- Forum

If you have any rabbit related questions, please send me an email. I'm not a vet, so I don't have all of the answers, but I would love to help if I can. :)


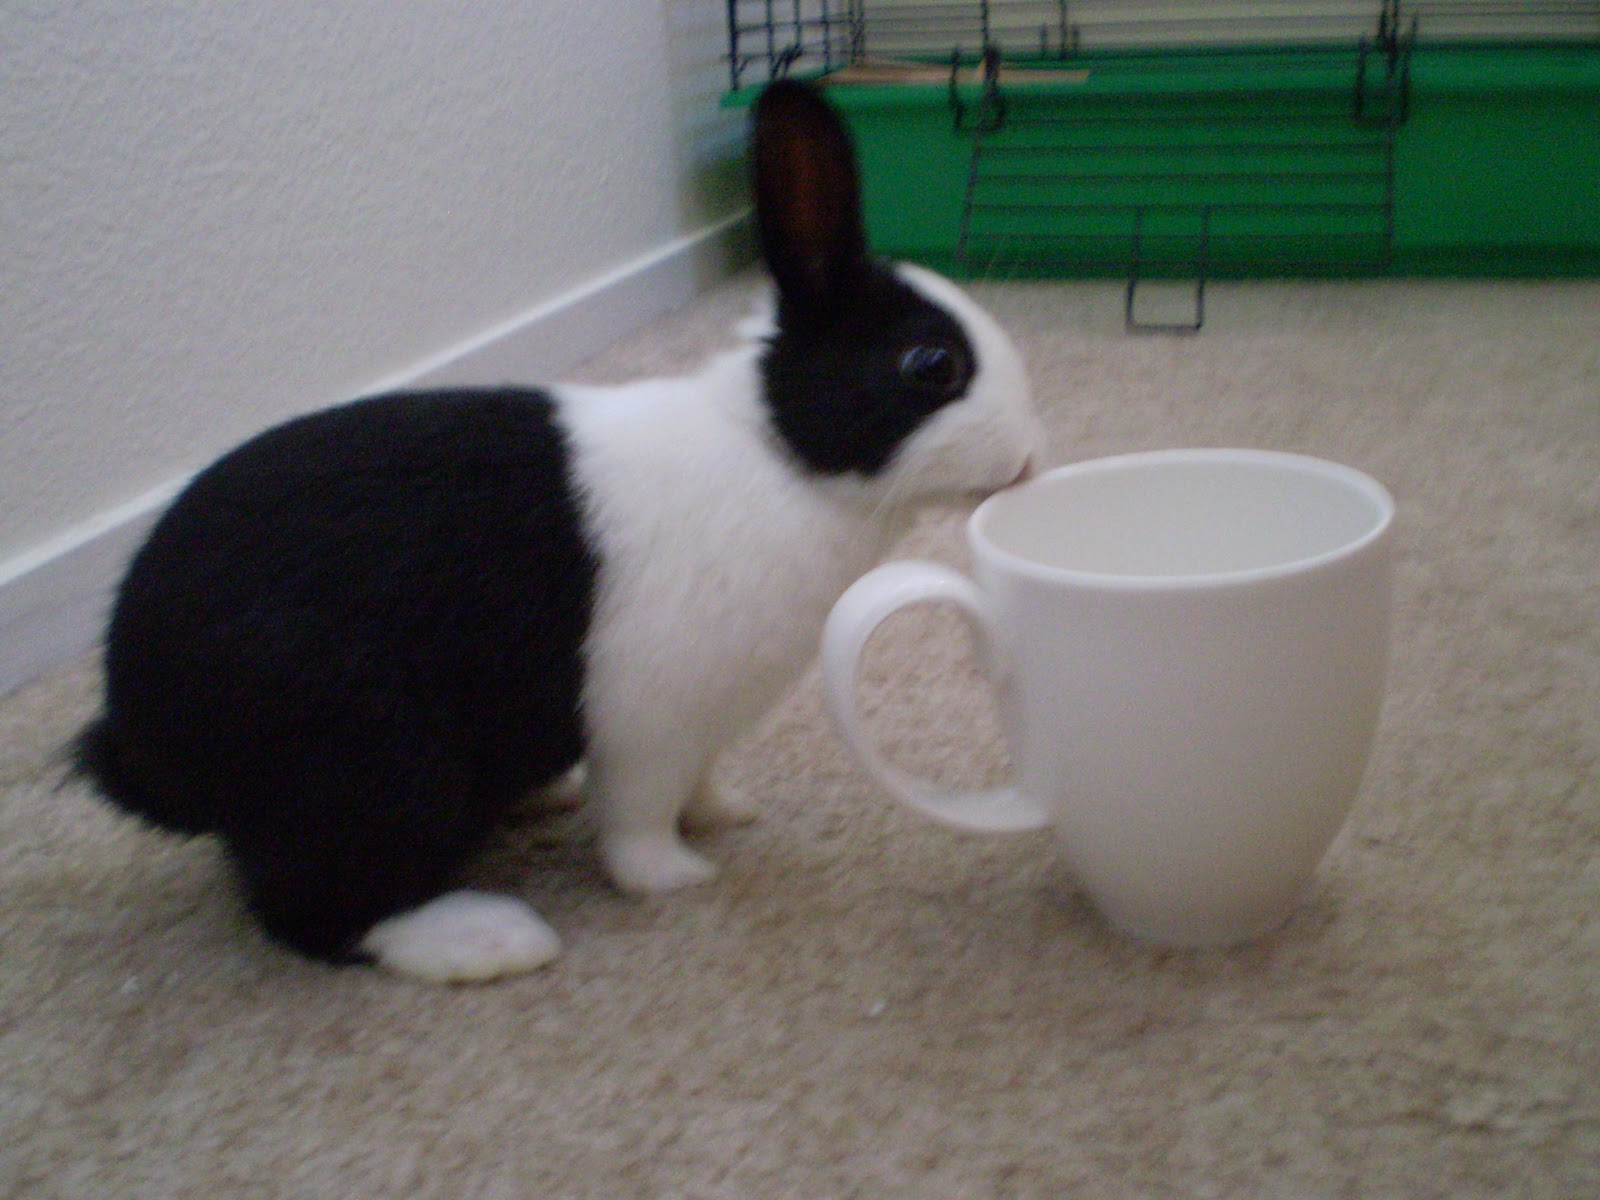
Baby Daisy next to a mug


Tuesday, March 8, 2011

Fortune Cookies

Happy Mardi Gras to everyone!! I don't have a recipe for King Cake, but I have another quick and fun recipe for everyone to try.
I love fortune cookies. It's always so fun after going out for Chinese to sit around the table with friends and hear the fortunes that each other received. I had no idea how easy they were to make until my high school foods class when we got to make them one day. Years later I can still remember how much fun I had making them and so I wanted to share the recipe with you. I don't know where this specific recipe came from- it was probably one of those just passed out in class and somehow all these years later I managed to keep it.
You could easily write up fortunes of your own- or even some announcement you would like to make on small stripes of paper and stick them in the cookies when you fold them up.
Since we are now in the year of the rabbit, I thought it would be nice to show pictures of my babies.


Sammy

Daisy

Yes, I have been looking for a reason since I started the blog to stick pictures of my rabbits in here. Since we are making fortune cookies and it's the year of the rabbit- what a better opportunity? :)


Fortune Cookies

1 egg white
1/8 tsp. vanilla
pinch of salt
1/4 c. all purpose flour
2 tbl. granulated sugar

Preheat your oven to 400 degrees and grease a cookie sheet- or put down one of those handy silicone mats. Also have out a muffin tin as this will be what we set the cookies in to cool off and harden up.
Mix together the egg white and the vanilla until foamy. Sift in the remaining ingredients and blend together thoroughly.
Place a heaping teaspoon of the batter on the cookie sheet in three or four places- about four inches apart. Thin out the batter into a bigger circle with the measuring spoon. You want to be able to just barely see through the batter.
Bake for 5 minutes until the edges just start to turn golden and the top looks dry.
Take them out and fold in half so you have a half circle, then take the two points and pull them together. (This would be the perfect time to slip in your paper fortune.)
Set the cookies in the muffin tin to finish cooling- they won't harden up as much as the cookies you get at the restaurant, but they will be very tasty.

Once you have made a round of the cookies, you can adjust the amount of batter on the cookie sheet as well as the thickness you spread the circles into to your liking. More batter = bigger cookies. :)


I have linked up at the following places:

Tuesday, March 1, 2011

Buttermilk Pralines and Chocolate Covered Almond Clusters

Today is the last night for my decorating basics class. I'm still on the road to getting better from this cold. I really really dislike coughing. I think I have done enough of it in the last three days that I shouldn't need to for the rest of the year.
So to celebrate the last day of my cake decorating class, I thought I would post about some tasty candy that is good any time of the year. I made this around Christmas time- but they would be just as great for Easter or even a birthday. Make up a bunch and wrap them individually for Halloween.
The first recipe I found on bhg.com (Better Homes & Gardens) while looking for something to do with the buttermilk I had in the house. The second came from Food Network a long long time ago. I actually have it hand written on the back of some piece of paper somewhere in the kitchen. Luckily, the recipe is super easy with very little ingredients.


Buttermilk Pralines makes about 3 dozen or so
(recipe from bhg.com)

2 c. packed brown sugar
1 c. buttermilk
2 tbl. butter
2 c. pecans, slightly chopped (you want to have lots of big pieces)

Spray the inside on a heavy 2 quart saucepan with nonstick spray. Combine the brown sugar and buttermilk in the pan and cook over medium high heat until the mixture comes to a boil, stirring constantly with a wooden spoon. Carefully attach a candy thermometer to the pan and lower the heat to medium low. Continue cooking and stirring occasionally until the thermometer reaches 234 degrees F, or soft ball stage.
Remove the saucepan from the heat and add in the butter, but don't stir. Let the mixture cool until the thermometer reaches 150 degrees F. Once cooled down, take out the candy thermometer and quickly stir in the pecans. Doing this will further cool down the mixture, so you have to work quickly from here. Beat the mixture with the wooden spoon untul the candy feels like it's thickening, but still looks glossy.
Drop the candy by tablespoonfuls (smaller if you desire) onto wax paper a couple inches apart because the mixture will spread a little. If the mixture in the pan begins to stiffen before you can finish scooping it out, mix in a couple drops of hot water at a time until the consistency you need returns. Let the pralines cool until set and then store in an airtight container.


Chocolate Covered Almond Clusters
(The amounts are estimates. You can use more or less almonds, more or less chocolate as desired)
recipe adapted from Food Network

1/2 c toasted slivered almonds
24 individually wrapped caramels, quartered
1 c. chocolate chips

Spray a mini muffin tin with nonstick spray and preheat the oven to 350 degrees.
Divide the almonds among 24 muffin wells (less wells if you want more almond per each candy).
On top of the almond slivers, place 4 of the pieces of caramel. This amounts to one caramel per candy. If you overfill the wells with almonds, the caramel won't be able to reach all of the almonds.
Pop the pan in the oven and watch carefully. About 5 to 8 minutes and the caramel will be melted. If left in the oven too long. it will all burn. Remove from the oven and let the candies cool just until hardened and easy to handle.
Melt the chocolate over a double boiler or in the microwave. Dip each almond cluster in the chocolate with a couple forks and set on some parchment or wax paper to harden. Store candies in an airtight container.


Linked up with:

Friday, February 25, 2011

Soda BBQ Sauce

Hello everyone!! My, my it sure has been a while. So much for my new years resolution, right? Things have been busy over here in my neck of the woods. I am finishing up school and preparing to graduate in May.
Note: Just because a class is online, doesn't make it automatically easier. Just easier to forget about sometimes.
I'm also taking a Wilton Cake Decorating class with hopes to be AWESOME in the very near future.
So aside from the normal routine and my last semester of schooling (ever?) I have been feeling kinda sick lately. Some sort of head/nose/throat sort of thing. I would love to say "it's going around", but unfortunately I don't know anyone else right now with similar symptoms. Let me just say that I am TIRED of coughing and having a sore throat.

So here I am, back in lovely bloggy-land. I have missed it. I wanted to bring with me a tasty recipe to welcome Spring in with (now that we're getting some rain here in Cali, naturally- whatever!).
This recipe is pretty versatile. Use whatever soda you want (strawberry cola is probably gross- but you won't know until you try it!) I left out the steak sauce from the original recipe because we never have that stuff in our house. Feel free to add some if you want. Start with a little and taste it. You can always add more!
I also like some sweetness in my BBQ sauces, so if you are like me with that, add in a tbl or 2 of brown sugar. Yummy!

Soda BBQ Sauce
(adapted from a recipe from the Barbeque Bible Sauces Rubs and Marinades)

1 c. soda
1 c. ketchup
1/4 c. worcestershire sauce
1 tsp. onion flakes
1 tsp. garlic powder or flakes
1/2 tsp. fresh ground black pepper

Combine all of the ingredients in a medium sized nonreactive saucepan and slowly bring to a boil over medium heat, stirring everything to mix well. Reduce the heat to keep the sauce at a simmer and reduce it by a quarter. So, 3/4 of the original volume should be left. Use right away. We loved it over brisket, but chicken would be delicious too!

Tuesday, February 1, 2011

Buttermilk Bread

Has anyone ever taken a walk down the bread aisl at the store and seen how many different kinds of bread there is available? So many! Not to mention the fancier brands cost a ton for just one loaf!
My favorite kinds of bread from the store are the potato bread and the buttermilk bread. The only time I ever buy the stuff is when it's on sale. Not anymore!
This recipe actually came out of a need to use up some buttermilk. You see, I bought a half gallon on sale (cheaper than a quart). I thought it would be interesting to see what all I could come up with. This recipe isn't completely my own, I found it at food.com and just slightly tweaked it.
What I really loved was not only that I got to use lots of the buttermilk I had, but I also had all of the rest of the ingredients in the house! The dough is made in the bread machine (baked in your oven) for added convenience. Surely, you could mix up the dough and let it take the first rise without the machine, but I really enjoyed being able to push start and go about my business.
So if you love buttermilk bread, or just have some extra buttermilk in the fridge, give this recipe a try. Makes for some good PB&J sandwiches. (Or just good snacking!)


Buttermilk Bread yields 1 loaf
(recipe slightly adapted from Food.com)

1 1/4 c. buttermilk
1 1/2 tsp. salt
1/4 c. honey
3 tbl. unsalted butter
3 c. all purpose flour
1/4 c. powdered milk
1 tsp. sugar
2 1/4 tsp. active dry yeast (or one of those packets)

Let the buttermilk come to room temperature. Add all of the ingredients to your bread machine in the order the manufacturer desires. For me, it's usually liquids first, then the dry goods, always ending with the yeast.
Set the machine on a dough cycle. We don't want to bake it, just make the dough.
When the bread machine has finished, remove the dough and on a lightly floured surface shape into a log that will fit into a 9x5inch loaf pan. Spray the pan with nonstick spray and place the log in. Let it rise in a warm place until doubled*. Bake the loaf in a 325 degree oven for 20-30 minutes or until it's nice and brown on the outside, watch it to make sure it doesn't burn. Enjoy!
*When the house is cold, I like to let my yeast doughs rise in the oven. I turn the oven onto it's "warm" setting while making the dough, and turn it off once it comes to temperature. Turn the oven light on, as that keeps a nice gentle warm for the yeast!

I have linked up at the following parties:

Monday, January 24, 2011

Stacia's Steak, Spinach and Pasta Dish

One of my resolutions for this year was to cook healthier food. It's not that I didn't cook healthy before, it was just that "healthy" wasn't on the top of my mind when making dinner. Now, I am putting more effort into thinking dinner through before hand, to try and figure out ways to keep lots of flavor, and make it good for our bodies.
The inspiration for this dish came, like so many other dishes, from watching Food Network. Specifically, Rachael Ray. I think she is fun and has lots of great recipes. This one, however, isn't hers. It's mine. :)
Anyway, she was grilling up portobello mushrooms for sandwiches (yum). I printed the recipe and actually ended up changing the whole marinade up so much it can't even be called the same recipe anymore. I thought it was great on the mushrooms. Well, my husband doesn't really care for mushrooms, so the recipe took another twist with the addition of beef in place of the mushrooms. It's also no longer a sandwich. (I discovered how good it was without the bread when I ate the leftovers the next day).
I am so proud of what I came up with, and I just know that you will love it too! Not to mention, that this recipe is also super versatile. You can switch out the beef for chicken or portobello mushrooms. You could also mix up the veggies to include ones that you like. I usually use whatever is fresh and in the fridge. I have pasta as part of this, to make it work for dinner. If you want to whip it up for lunch, you could certainly leave that out, just don't make as much sauce.


Stacia's Steak, Spinach and Pasta Dish

for the marinade:
1 tbl. veggie oil
2 tbl. mustard (I have been using plain yellow)
2 tbl. worcestershire sauce
1/4 c. red wine vinegar
2 cloves garlic, minced
1/4 tsp. red pepper flakes (optional)

1 lb. steak, cut into thin strips (I have also used tri tip and cross rib roast for this- just make sure to cut against the grain)
Veggies of your choice, I like:
1 yellow onion, sliced into half rings
2 med. carrots, sliced 1/4inch thin
1-2 bell peppers, sliced thin
1 stalk celery, sliced thin (I don't really care for the stuff, but it works in this!)
small head of broccoli, cut into bite sized florets
half of a normal sized bag or prewashed baby spinach, or two big handfuls

ingredients for the marinade again, (leave out the chili flakes to keep it less spicy) plus:
1 1/2 tbl. cornstarch
1/3 c. water
salt& pepper to taste
1/2 lb. small pasta (macaroni, shells, rotini)

Mix up all of the ingredients for the marinade and put the sliced up steak in it to marinate for an hour or two.
When you are ready to start making dinner, bring a large pot of water to a boil to prepare the pasta.
In a large pan or skillet, begin cooking your onion, bell pepper and celery in a little bit of oil until the veggies are nice and soft. Should take a few minutes on a medium/med-low heat. Drop the pasta and add the broccoli to the pan of veggies. Cook, stirring for a couple of minutes to get a little brown on the broccoli. Pour about 1/4 c of water into the veggies and quickly put a lid on the pan. This will steam the broccoli to make sure it is cooked thoroughly. After a couple minutes have passed, the broccoli should have taken on a lovely broght green color. Move all of the veggies to the outer rim of the pan once the remaining water has evaporated and dump the steak in the middle. Don't move it around too much, we want it to brown nicely. Flip over the meat. It won't take long to cook. Add in your spinach and mix everything together so that the spinach wilts.
Mix together all of the ingredients that you used for the marinade again, plus the cornstarch and water this time. Now you have made the sauce.
Drain the pasta and dump into the veggies, pour the sauce mixture over everything and cook, stirring constantly so that the sauce coats everything as it thickens up. Season to your liking with salt and pepper. Serve immediately. Enjoy!


I have linked up here:

Monday, January 17, 2011

Perfectly Simple Dark Chocolate Tart

To continue on my theme of chocolate desserts, I bring to you this rich chocolate tart. I know what you may be thinking, and no, these last three decadent desserts were not in my house at the same time. There was no overlap, at all......Thank goodness.
This dessert comes from a tasty little cookbook of mine called Luscious Chocolate Desserts. So far everything that I have made from this book has turned out fantastic. This tart, is certainly no exception. But be warned, it is only for the chocoholic. The party I made this for had lots of people, and I still ended up keeping half of it because it is so rich that everyone only took small slices. (May also be because there were so many other delicious desserts there, and you can't fill up on just one.)
However, if you are looking for a relatively quick and easy to put together dessert, this is definitely one to keep in your arsenal. With so few ingredients, The only thing that I changed was the kind of chocolate I used for the filling. There really wasn't anything else for me to change about it. Although, next time, I may add just a touch of ground cinnamon to the filling. I love how cinnamon and chocolate compliment each other so nicely.


(my apologies for the poor picture quality. It was nighttime and all I could get was glare)

Perfectly Simple Dark Chocolate Tart serves at least 12
(recipe adapted from the awesome book, Luscious Chocolate Desserts)

Crust:
1/2 c. powdered sugar
1/4 c. toasted walnuts, cooled (you can toast your walnuts in the oven at 350 for a few minutes, or stovetop, just keep an eye on them because they'll burn quickly)
3/4 c. flour
1/4 c. unsweetened cocoa powder
1/4 tsp. salt
1/2 c. cold, unsalted butter, cut into smaller pieces

Filling:
6 ounces unsweetened chocolate, chopped
8 ounces semisweet chocolate, chopped (or any combination of the two that you like)
1 c. heavy cream
6 tbl. unsalted butter
2 eggs, lightly beaten
1/4 c. sugar
1 tsp. vanilla extract

Lightly grease a 11-inch tart pan with a removeable bottom. (one that has sides that go up at least a couple inches) Preheat the oven to 350 degrees.
In a food processor, blend together the powdered sugar and walnuts until the walnuts are very fine. Add the flour, cocoa powder and salt, blend just until it's all incorporated. Now add the butter and pulse just until the mixture starts to clump together a bit in the machine. Turn it off and press some between your fingers, if it sticks together, you're ready. Pour the dough into the tart pan and press down evenly to form a crust over the bottom and about an inch and a half to 2 inches up the side. It's going to shrink down just a bit when baking.
Bake the crust for about 15 minutes, or until it begins for pull away from the sides of the pan. It may take a few minutes longer. Let the crust cool.
Now onto the filling. Melt together the heavy cream and chocolate in the microwave. Starting at 30 seconds, then moving onto 10 second incriments. Alternatively, put the bowl of chocolate and cream over a pot of lightly simmering water. Whisk until all of the chocolate is melted and the mixture is nice and smooth. Whisk in the remaining ingredients for the filling. (Note: if the chocolate mixture is really really warm, I recommend that you should temper your eggs first with a little of the chocolate mixture)
Pour the warm filling into the crust and pop back into the oven. Bake for about 12 minutes. The filling should appear set all around the outside, but just a little jiggly in the center. Transfer the tart to a wire rack and cool completely. When you are ready to serve, remove the rim of the pan, gently and set on a cake stand, or whatever you plan to serve it on. Dust with cocoa powder if desired, and enjoy!!

Linked up with: